censeoflife
New Member
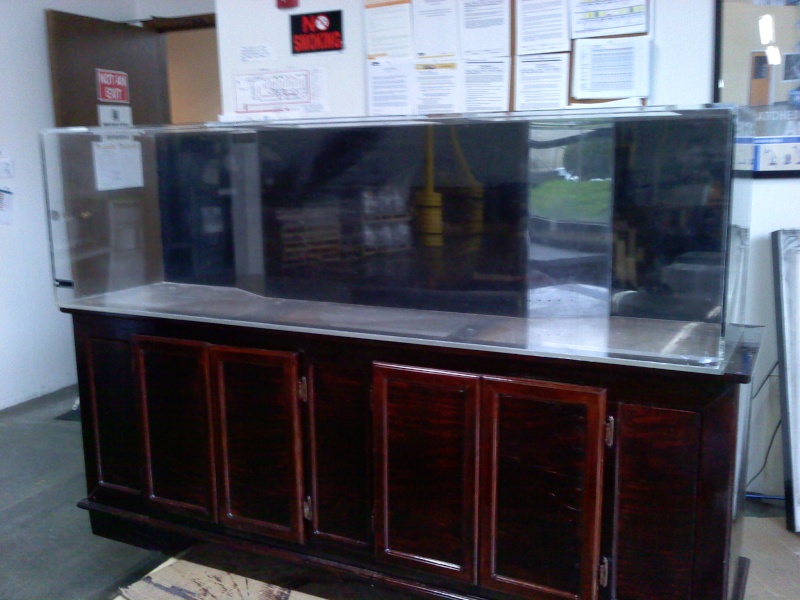
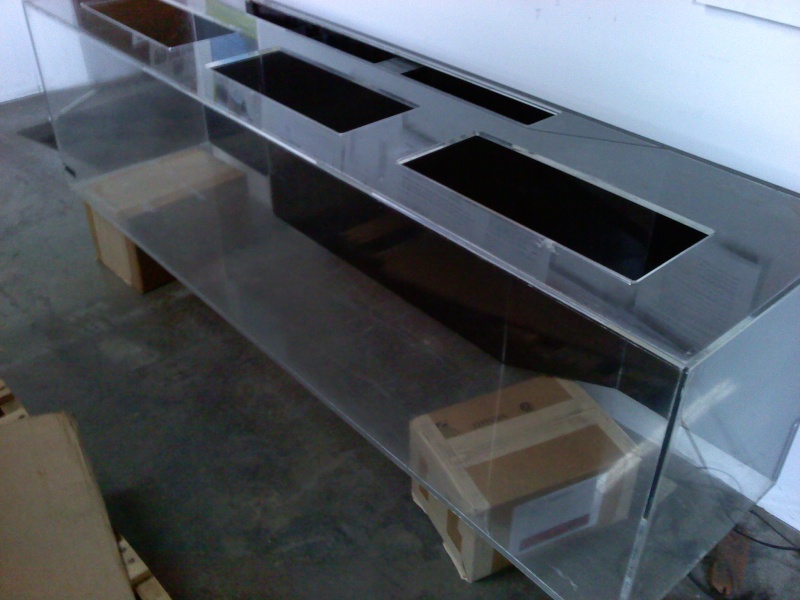
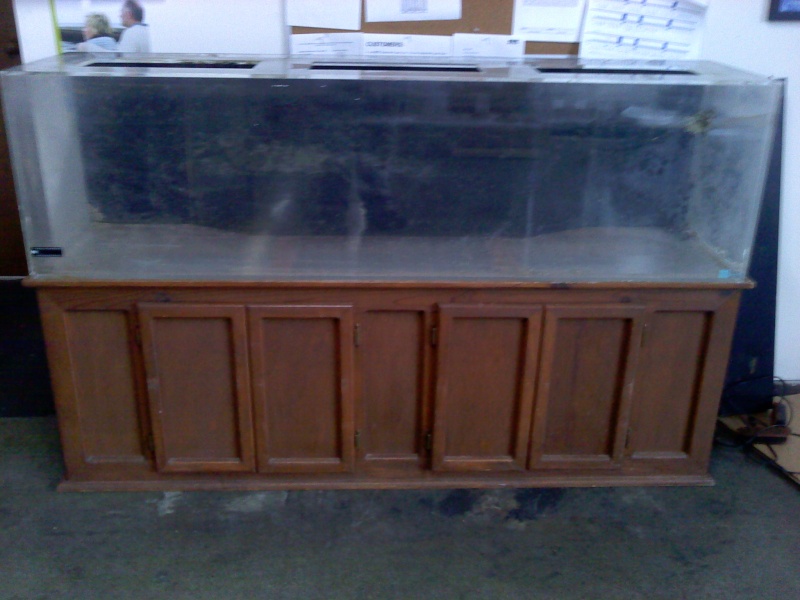
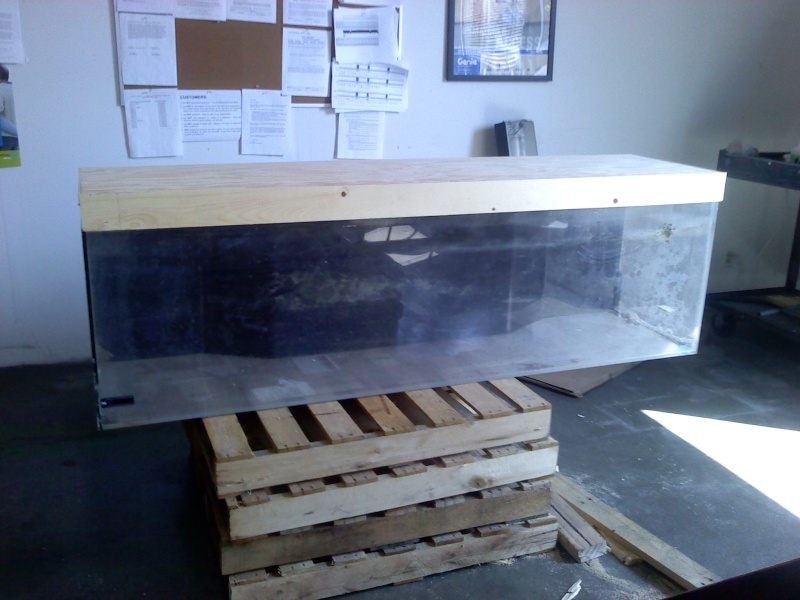
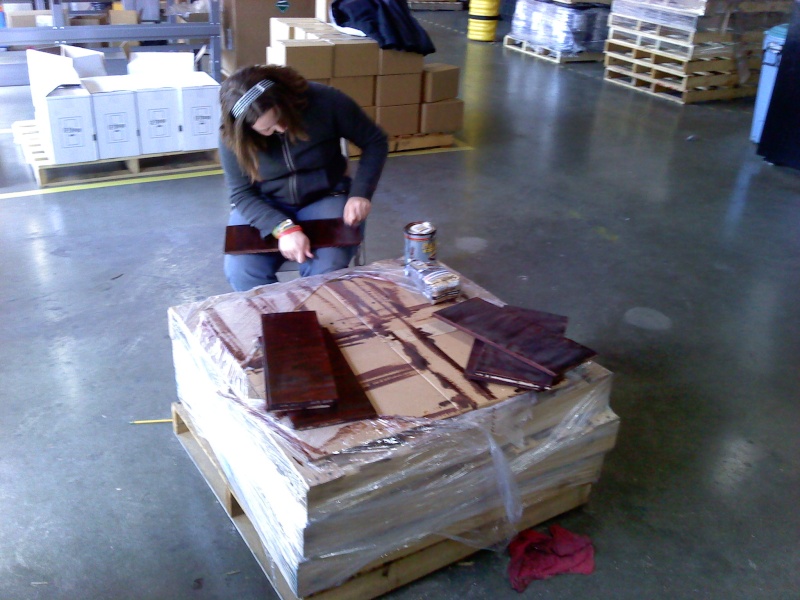
So I bought an Acrylic tank from CL and this is it's budget build story. lol..
Its pretty scratched, and the stand has seen better days. 280$ spent for tank and stand.
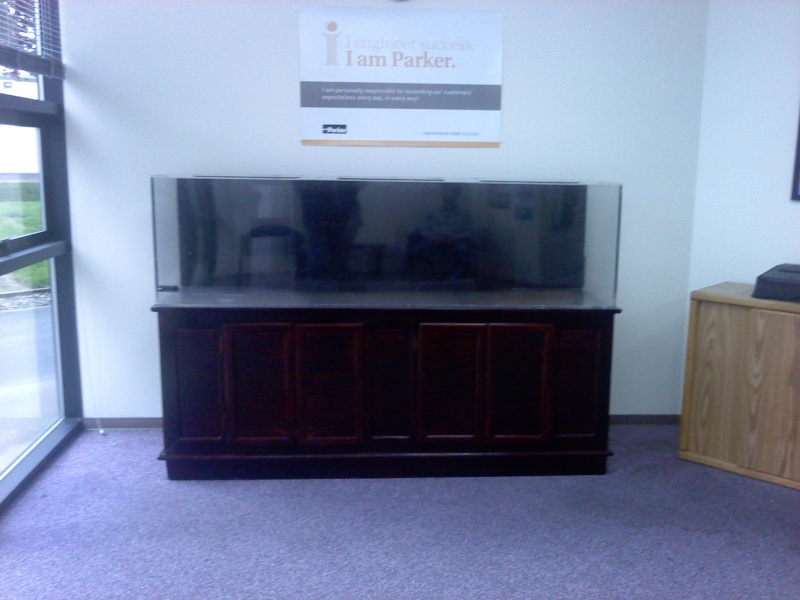
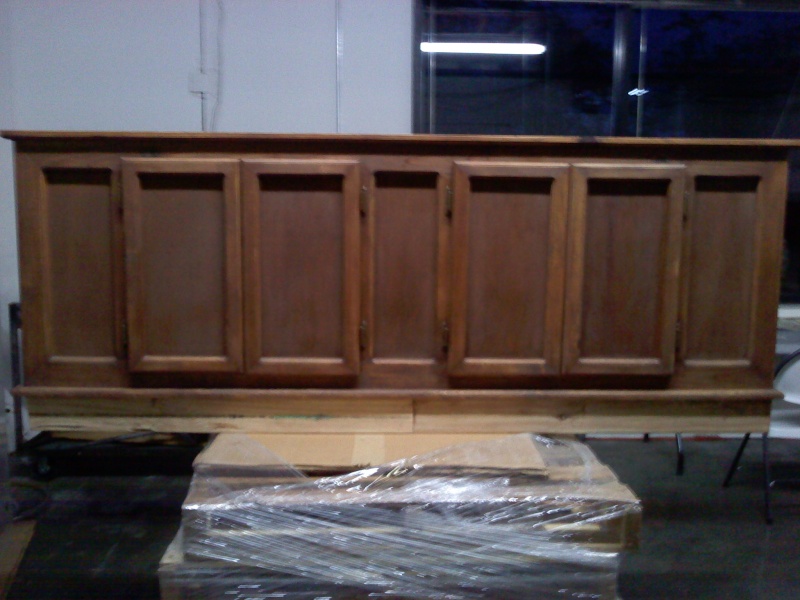
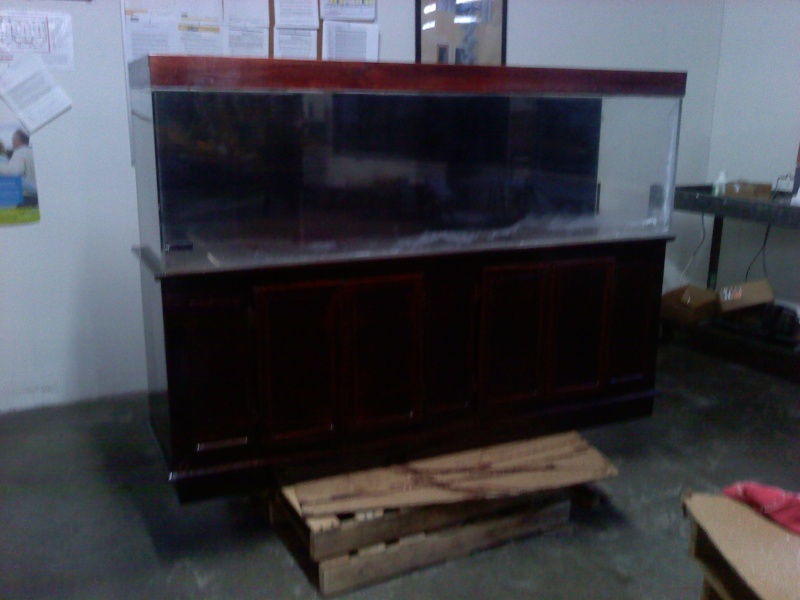
I thought the tank was a little to low so I scrapped some pallets for a lift.
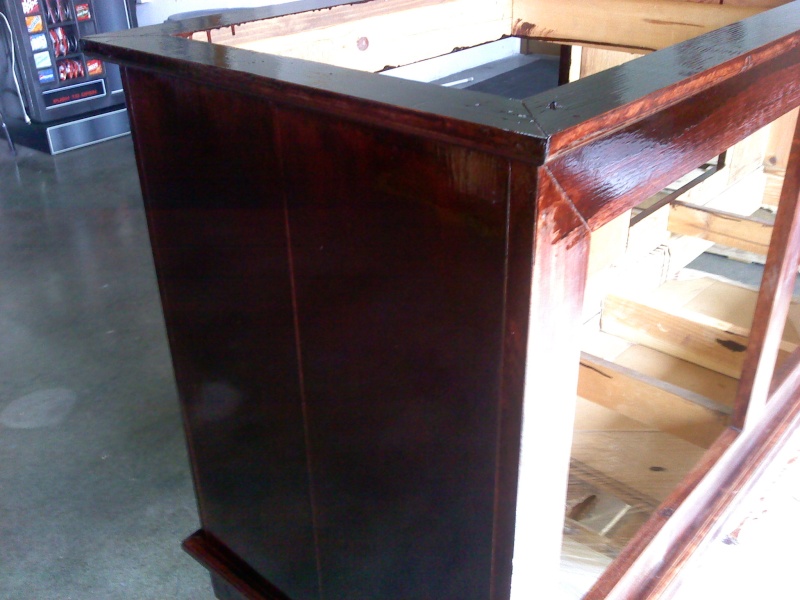
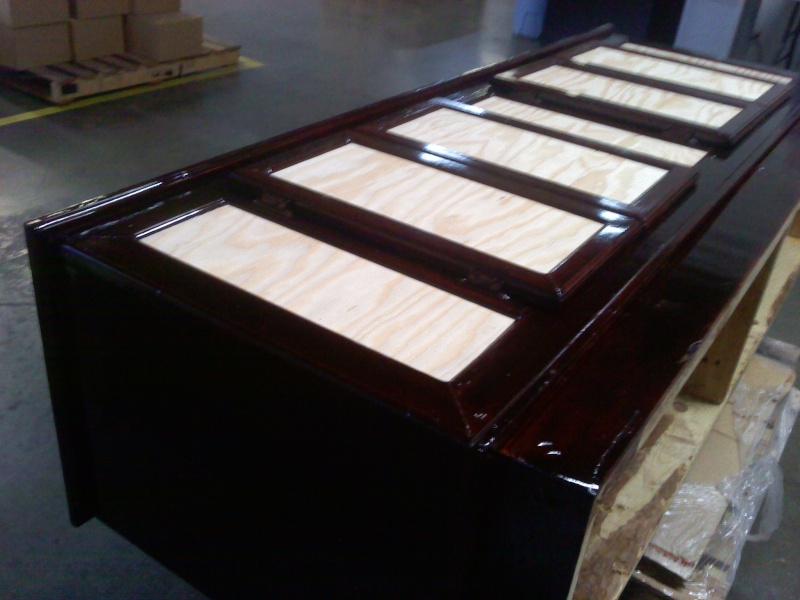
I liked the red lacquer for the color. Steel wool and 3 coats got it nice and dark.
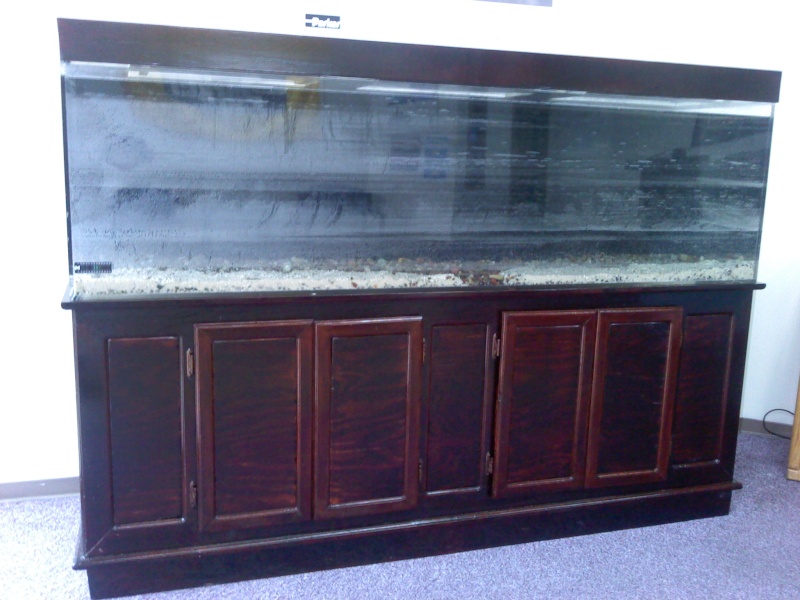
The existing panels where not for me so I chopped up some plywood.
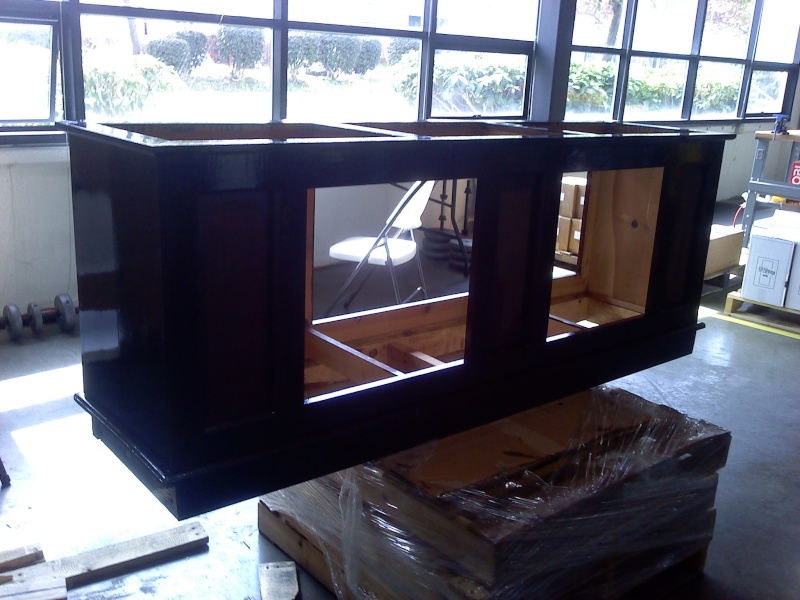
Thought I could get away with a low profile lid. We shall see if this works out.
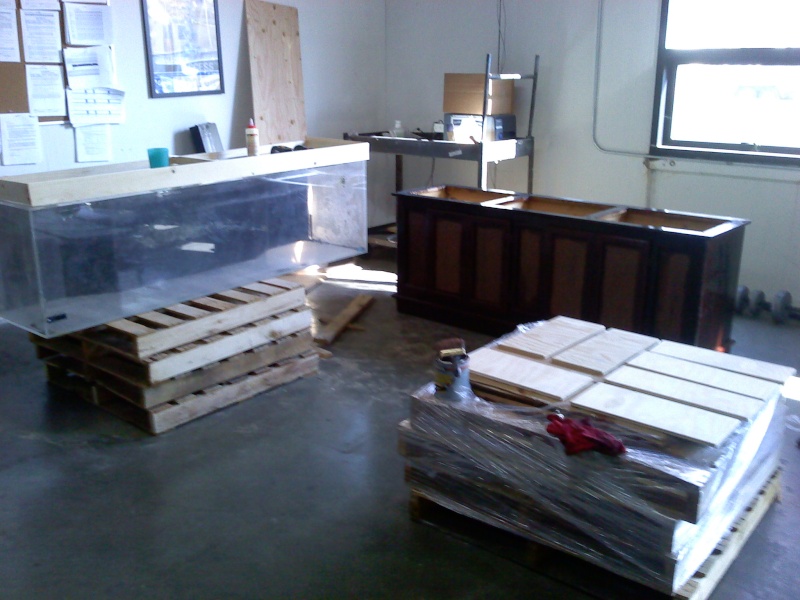
The work station.
Remember to put those kids to work!!
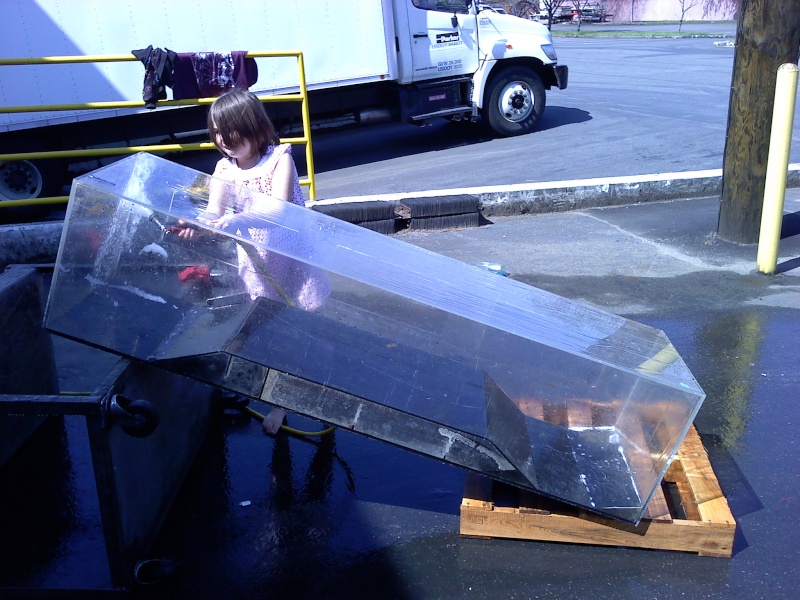
Especially the big ones! lol
Preliminary fit, The top needs a second coat but I think it looks great!
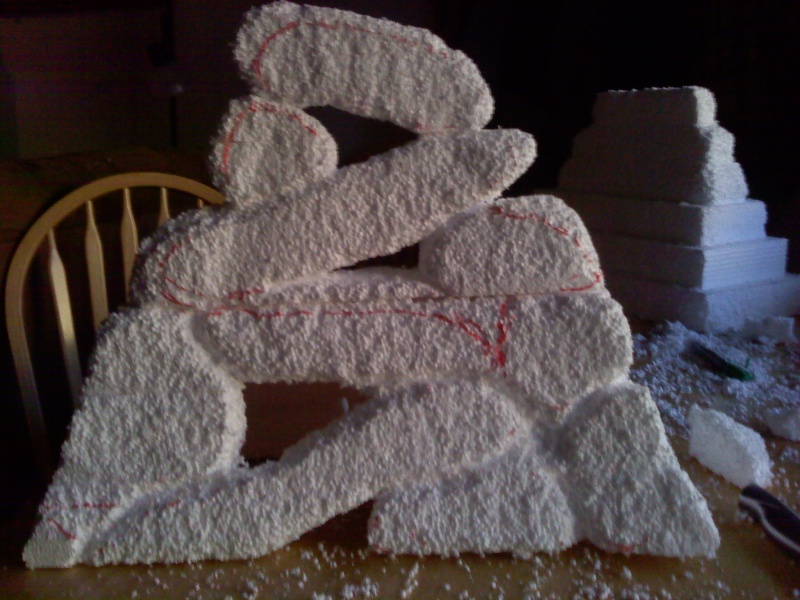
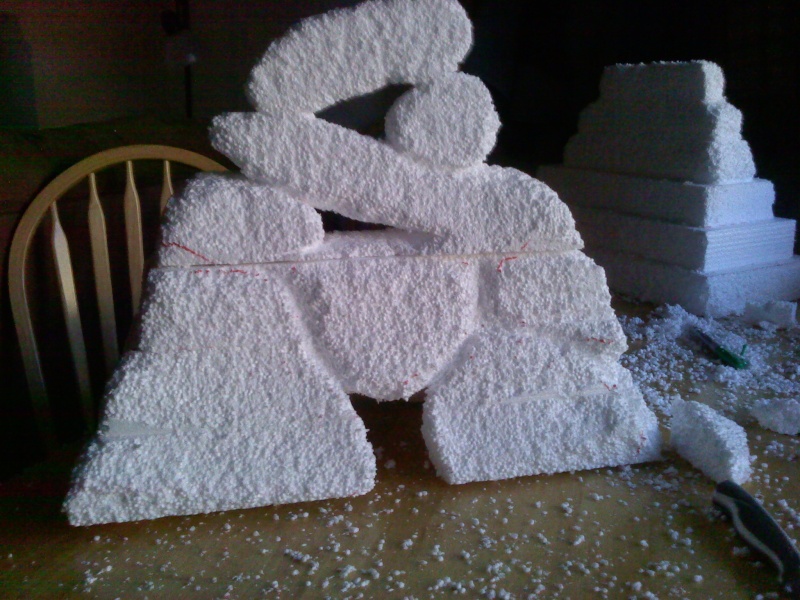
Here is my work on the "decorations". Started with 2" styro-foam insulation.
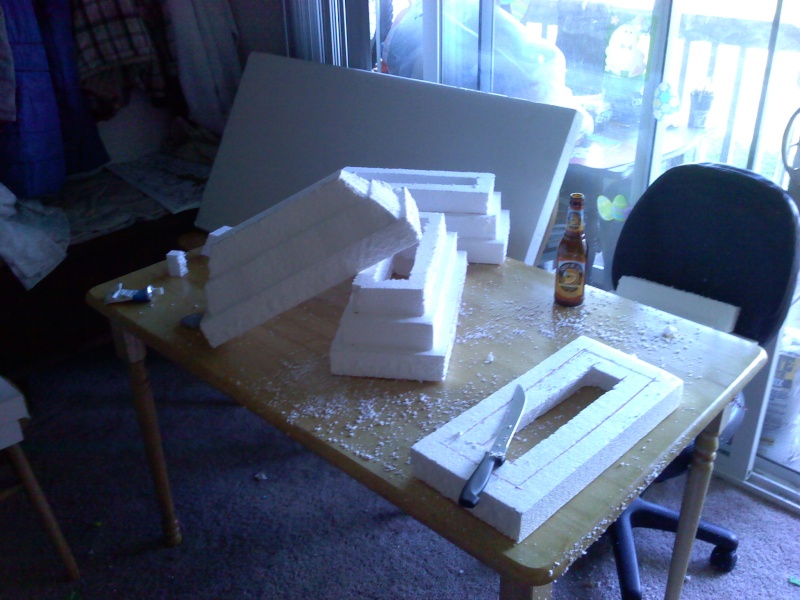
So I end up spending 10 hours total carving foam... lol..

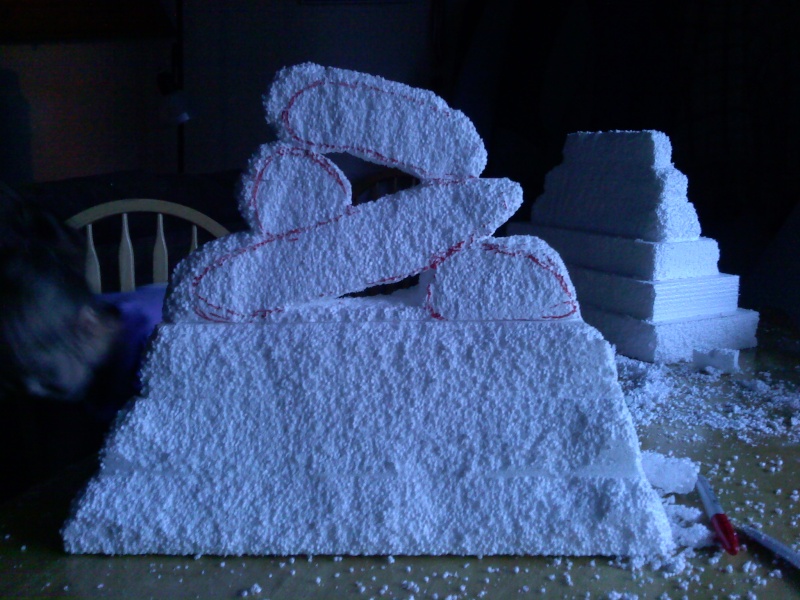
But what I was left with is looking good!
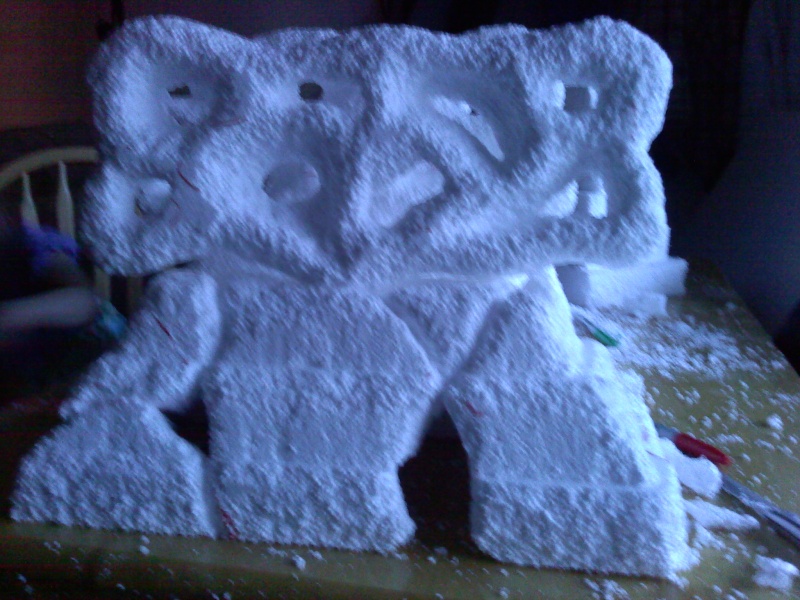
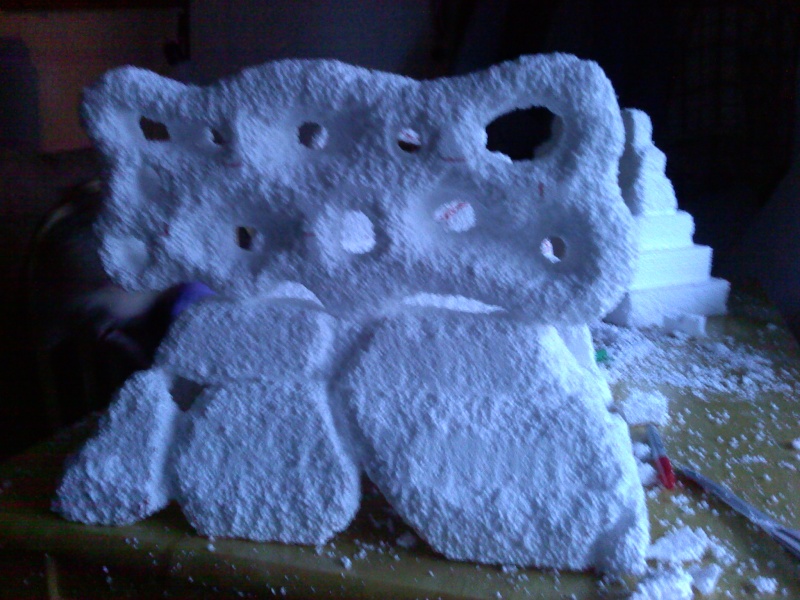
I did get better at the little "houses" as I went on so I do like some better than others.
Here's some concrete work.

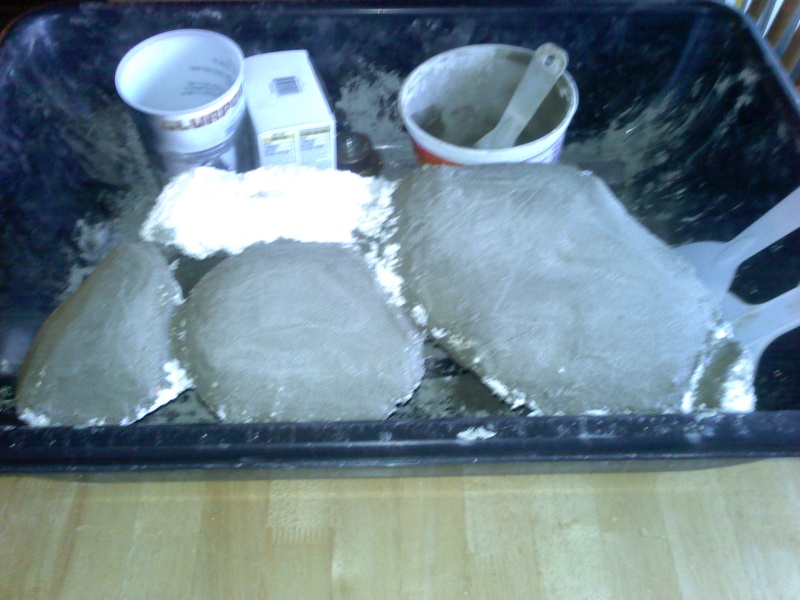
This is all based on the home made back rounds found on Our site and You tube.
Its pretty scratched, and the stand has seen better days. 280$ spent for tank and stand.
I thought the tank was a little to low so I scrapped some pallets for a lift.
I liked the red lacquer for the color. Steel wool and 3 coats got it nice and dark.
The existing panels where not for me so I chopped up some plywood.
Thought I could get away with a low profile lid. We shall see if this works out.
The work station.
Remember to put those kids to work!!
Especially the big ones! lol
Preliminary fit, The top needs a second coat but I think it looks great!
Here is my work on the "decorations". Started with 2" styro-foam insulation.
So I end up spending 10 hours total carving foam... lol..
But what I was left with is looking good!
I did get better at the little "houses" as I went on so I do like some better than others.
Here's some concrete work.
This is all based on the home made back rounds found on Our site and You tube.
")