Alright, decided to start my own thread for this so I'm not hijacking iandraco's thread again.
This is a practice run for getting the hang of things for when I go to do the background in my 120. This is for my 29 gal freshwater tank.
Materials: Styrofoam sheet (Piece I had gotten had a silver foil on one side, and white sticker on the other side. I removed both before working.)
Cement (10lb bag)
Acrylic Paint (I went this way cause it was cheap, and the paint will be sealed under the epoxy so there should be no concerns.)
Epoxy Resin ( Parks Super Glaze )
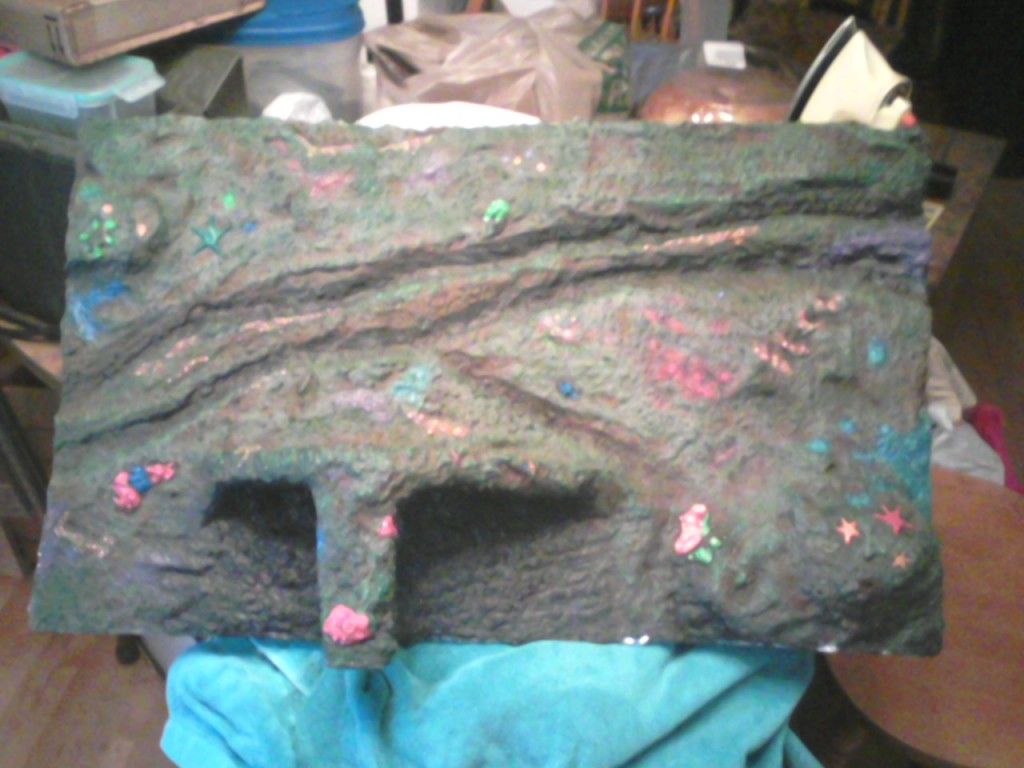
Started by measuring the inside of my tank, knocked an inch off side and top for fitting and filtration purposes, and cut my sheet to size. I used a knife and my fingers to carve the styrofoam out the way I wanted it to look and then used a lighter to seal the loose styrofoam and to give it a more natural look. I decided I wanted a ledge cave to it and some protruding spots, I used toothpicks to hold the pieces in position while the silicone was applied and curing.

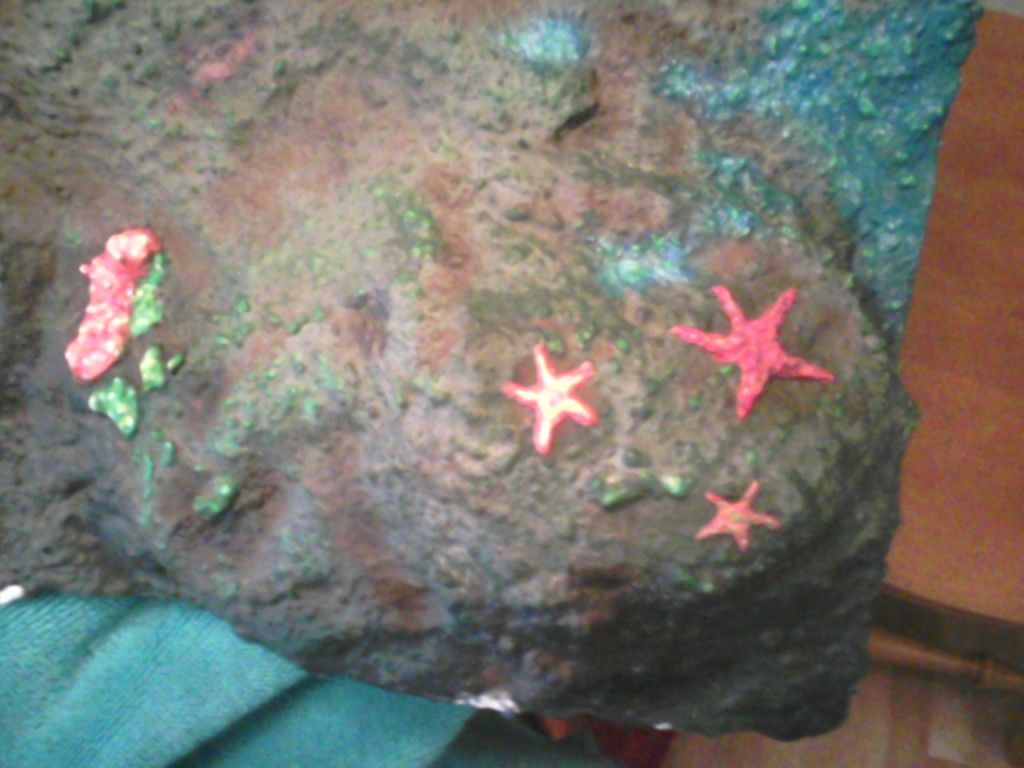
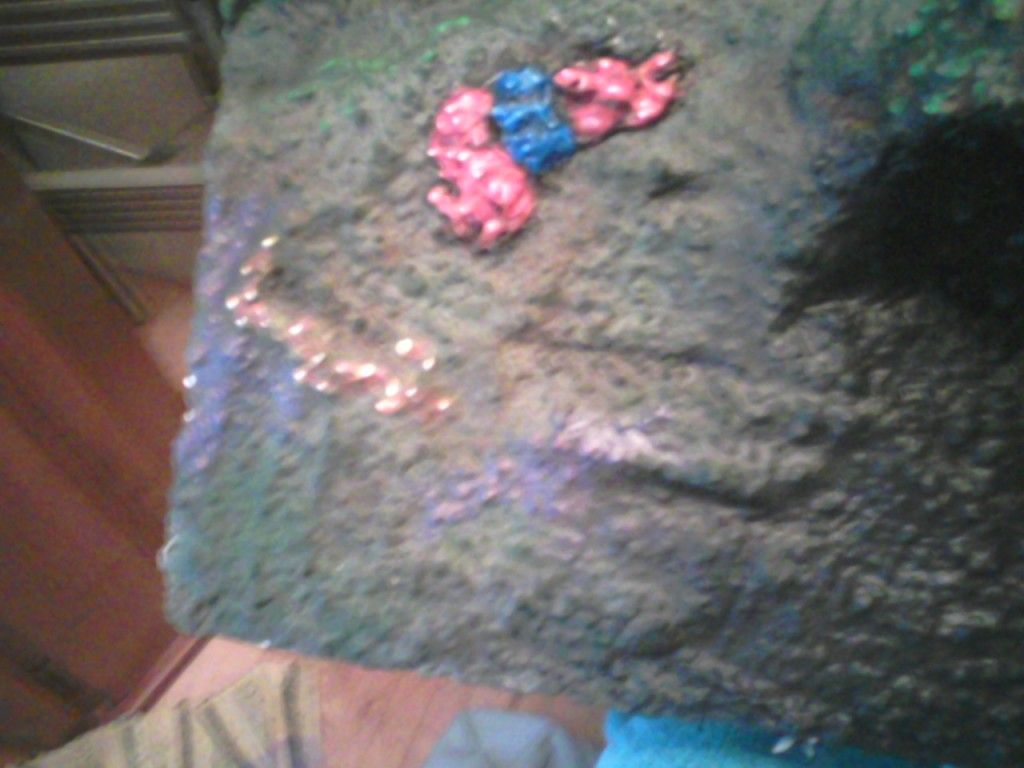
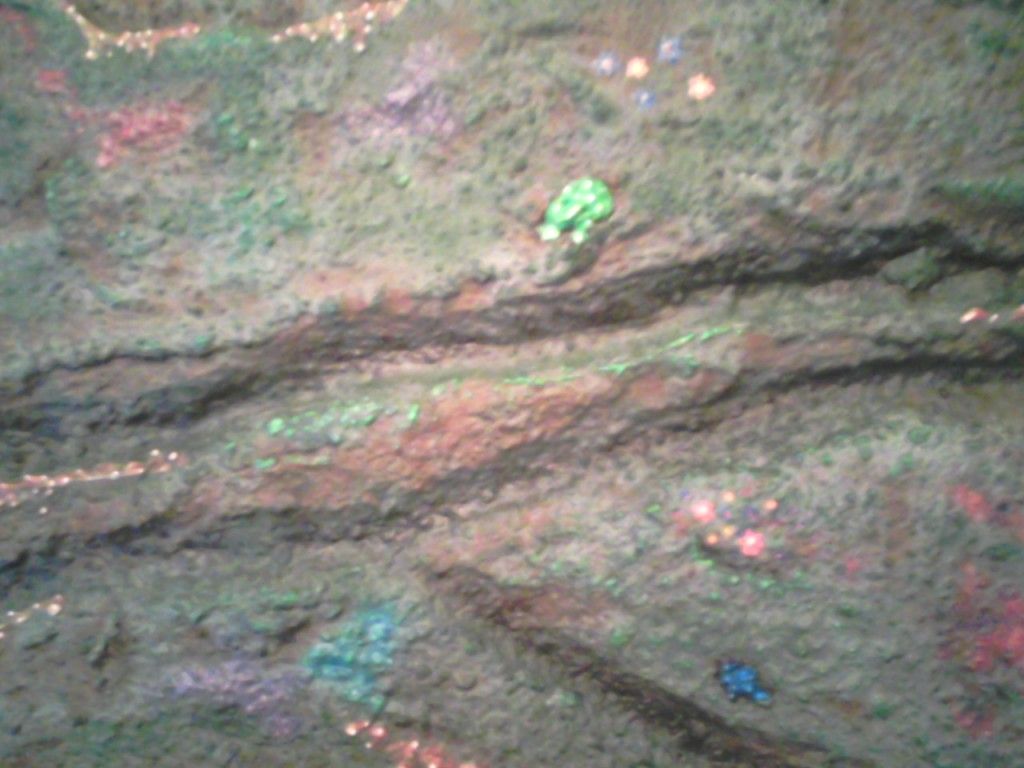
Second phase was applying the cement. My first batch of cement ended up being too watery so I had to add more making a bigger batch than originally planned. So the first (and only) coat of cement ended up thick, but I like the way it turned out. I had to apply the cement in phases so I could get full coverage around the cave ledge.

So since today was sunny, I pulled it out onto the front porch to get some sunlight on it and help it cure. With all luck tomorrow I can start the painting and prep it for the epoxy resin. I'm planning on giving it a week to air cure before I install into my tank. As I now have the 30 hex I got the other day up and running, I'm going to go ahead and just silicone it into the back while my fish hang out in the hex tank. I'll update later when I get it painted and sealed.

This is a practice run for getting the hang of things for when I go to do the background in my 120. This is for my 29 gal freshwater tank.
Materials: Styrofoam sheet (Piece I had gotten had a silver foil on one side, and white sticker on the other side. I removed both before working.)
Cement (10lb bag)
Acrylic Paint (I went this way cause it was cheap, and the paint will be sealed under the epoxy so there should be no concerns.)
Epoxy Resin ( Parks Super Glaze )
Started by measuring the inside of my tank, knocked an inch off side and top for fitting and filtration purposes, and cut my sheet to size. I used a knife and my fingers to carve the styrofoam out the way I wanted it to look and then used a lighter to seal the loose styrofoam and to give it a more natural look. I decided I wanted a ledge cave to it and some protruding spots, I used toothpicks to hold the pieces in position while the silicone was applied and curing.
Second phase was applying the cement. My first batch of cement ended up being too watery so I had to add more making a bigger batch than originally planned. So the first (and only) coat of cement ended up thick, but I like the way it turned out. I had to apply the cement in phases so I could get full coverage around the cave ledge.
So since today was sunny, I pulled it out onto the front porch to get some sunlight on it and help it cure. With all luck tomorrow I can start the painting and prep it for the epoxy resin. I'm planning on giving it a week to air cure before I install into my tank. As I now have the 30 hex I got the other day up and running, I'm going to go ahead and just silicone it into the back while my fish hang out in the hex tank. I'll update later when I get it painted and sealed.


 :
: